Digital Magic 8-Ball

The Magic 8 Ball
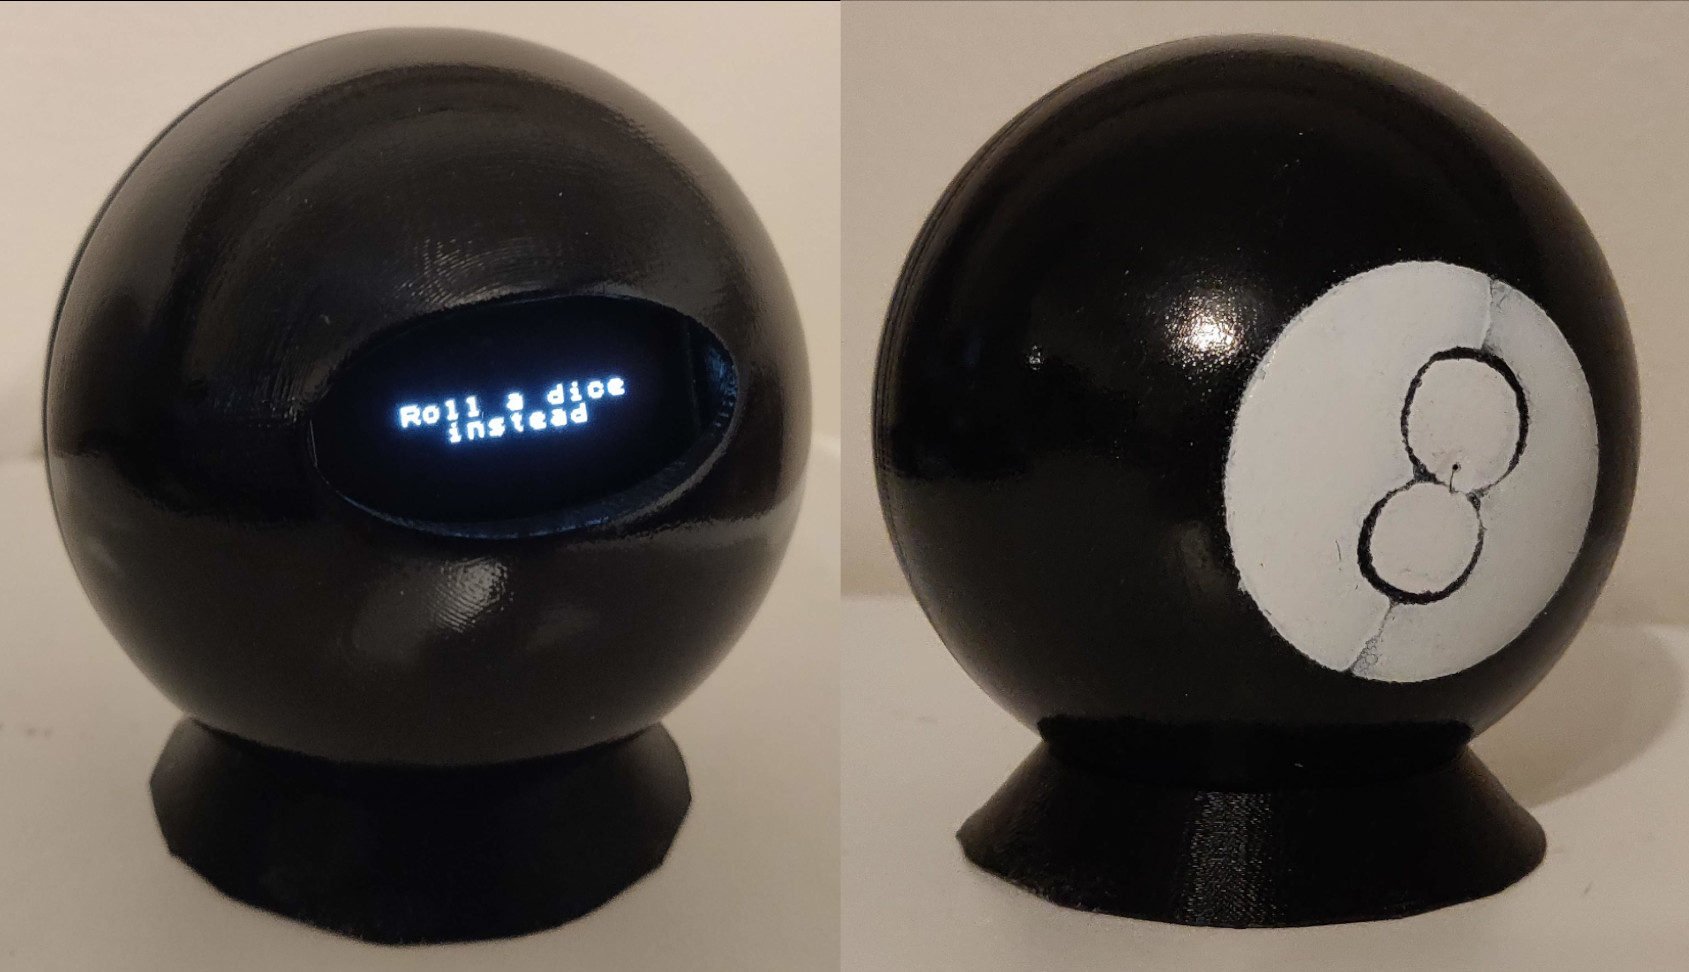
My most recent Christmas-gift-project has been making a Magic 8-Ball that displays custom messages that were inside jokes with the two people I gave it to.
Because it’s often the most interesting part, here are some of the challenges that came up during this process:
How do I make it look like an 8-Ball?
Working with Fusion360 is a joy, and it’s such a shame, I wish I had a more open option, but it’s just too good to pass up!
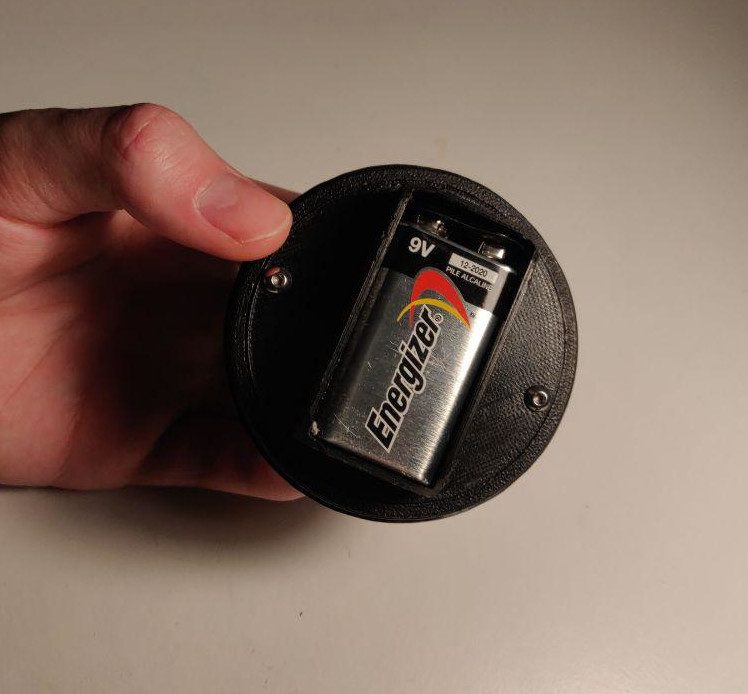
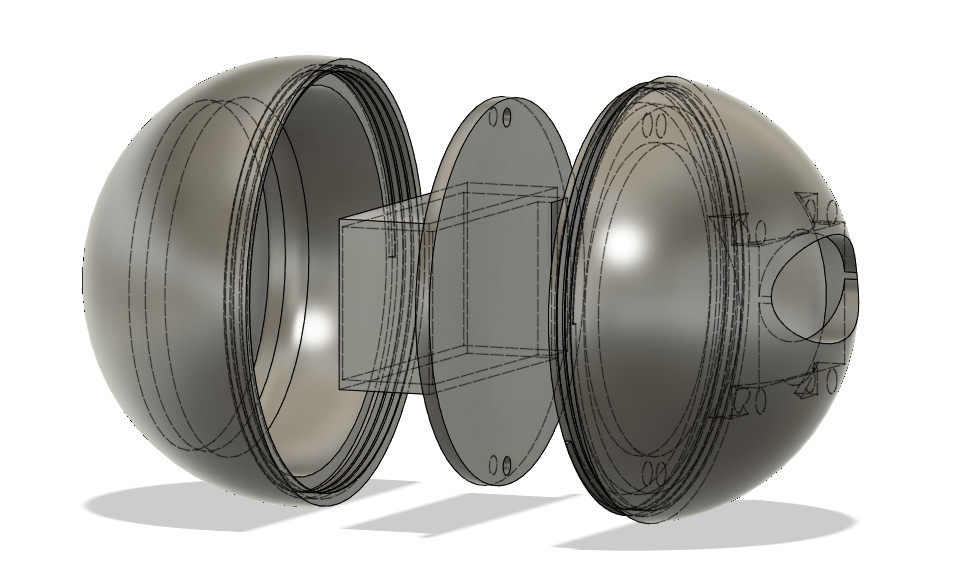
Here are some photos of the 3D models I produced for this design. The idea was to build a hollow sphere cut in half, with printed threads on the two halves, so that a user could quickly access the battery cavity without needing a screwdriver.


I realised that for it to be a true 8-Ball, I needed to paint the ‘8’ on it, but it turns out you can make a pretty decent 3D printed stencil by just subtracting your design and the target object from a cube!
To smooth the surface of the plastic, I printed the model in ABS and carefully dipped the parts in acetone (vapour smoothing did not work).
How do I make the battery last?
I originally wanted the device to show a message for a small period of time after shaking it, like a real Magic 8-Ball. I prototyped this by soldering a spring and metal tube directly to an interrupt pin. It worked out pretty well! But there was an issue.
With the time limitations I knew I couldn’t home-fabricate a board and source the parts. These cheap Arduino clone boards I use typically aren’t made to sip power, even when the microcontroller is entirely off. Even if I put the device in a deep sleep, I measured a power draw that would drain a 9-volt battery in a few days.

Debounced power circuit
My quick solution was to use a tilt-switch as the main power switch, so that when you hold the device “right side up” it boots up, and displays a message until you invert it again and place it on the stand.
However, there was another issue with this, the tilt switch I had bought is incredibly “noisy”. Think switch de-bouncing, but with your main power source, and it never stops bouncing.
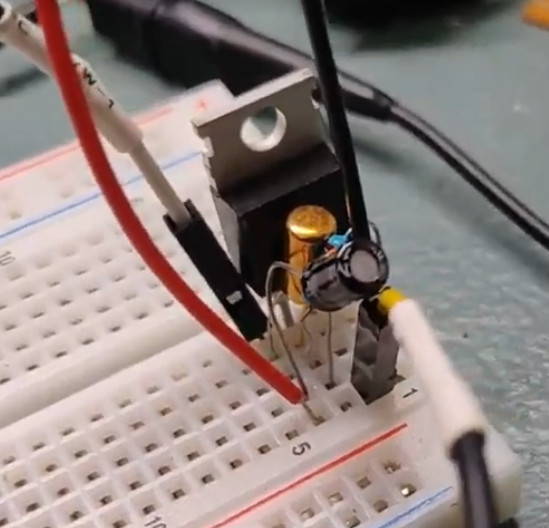
I quickly threw together a prototype low-pass-filter for the tilt-switch, used as the input to a mosfet that powers the board, and committed it to perf-board.
Good randomness: or, why randomseed(analogRead(0)); isn’t good enough
Long story short, unconnected analog pins don’t actually have all that much randomness. Usually their values are constrained to a small range. This project had a unique constraint, in that, the device is powered on for every random number generation, and so there is no persistent state (writing to storage may cause wear). If I had just used an analog pin’s value as a seed, I would only be given a few messages, with definite biasses.
I had tested a few solutions gathering entropy by sampling the analog value multiple times, but ultimately it seems that this library does a fantastic job without much work: Arduino-Entropy-Library